Phoenix Oyster Cultivation Guide (UK)
Complete beginner's guide to growing Phoenix Oyster mushrooms at home. UK-focused, science-based methods using liquid culture. Free step-by-step instructions.
Phoenix Oyster (Pleurotus pulmonarius) is the warm-weather counterpart to Blue Oyster. Where Blue Oyster stalls in summer heat, Phoenix thrives, making it the ideal species for UK growers who want to fruit during the warmer months without climate control. This guide covers everything from inoculation to harvest.
Ready to start? Jump to Quick Start →
Having problems? Troubleshooting guide →
What you'll need
- Pressure cooker (for sterilisation) or pre-sterilised bags/jars
- Substrate containers (bags, buckets, or jars)
- Still air box or flow hood
- Phoenix Oyster liquid culture
- Basic sterile supplies (alcohol, gloves)
Quick Start (Do This Now)
Follow these four steps in order:
- Learn to handle liquid culture: Read the LC Guide
- Prepare your substrate: straw, hardwood sawdust, or supplemented sawdust
- Incubate: 22–28°C until fully colonised (7–14 days)
- Trigger fruiting: Introduce fresh air, humidity, and indirect light at 18–27°C
Expected timeline
| Day | What happens |
|---|---|
| Day 0 | Inoculate substrate with liquid culture |
| Day 2–4 | White mycelium visible at injection points |
| Day 7–14 | Full colonisation (dense white growth throughout) |
| Day 14–18 | Primordia (tiny pin clusters) appear |
| Day 18–25 | Harvest first flush |
Phoenix Oyster colonises aggressively, expect visible mycelium within 48 hours at warm room temperatures.
Phoenix Oyster – At a Glance
Substrate: Straw or hardwood sawdust
Inoculation: 2–5 ml LC / jar or bag
Colonisation: 22–28 °C · Dark · 7–14 days
Fruiting: 18–27 °C · Fresh air critical · 80–90% humidity
What is Phoenix Oyster?
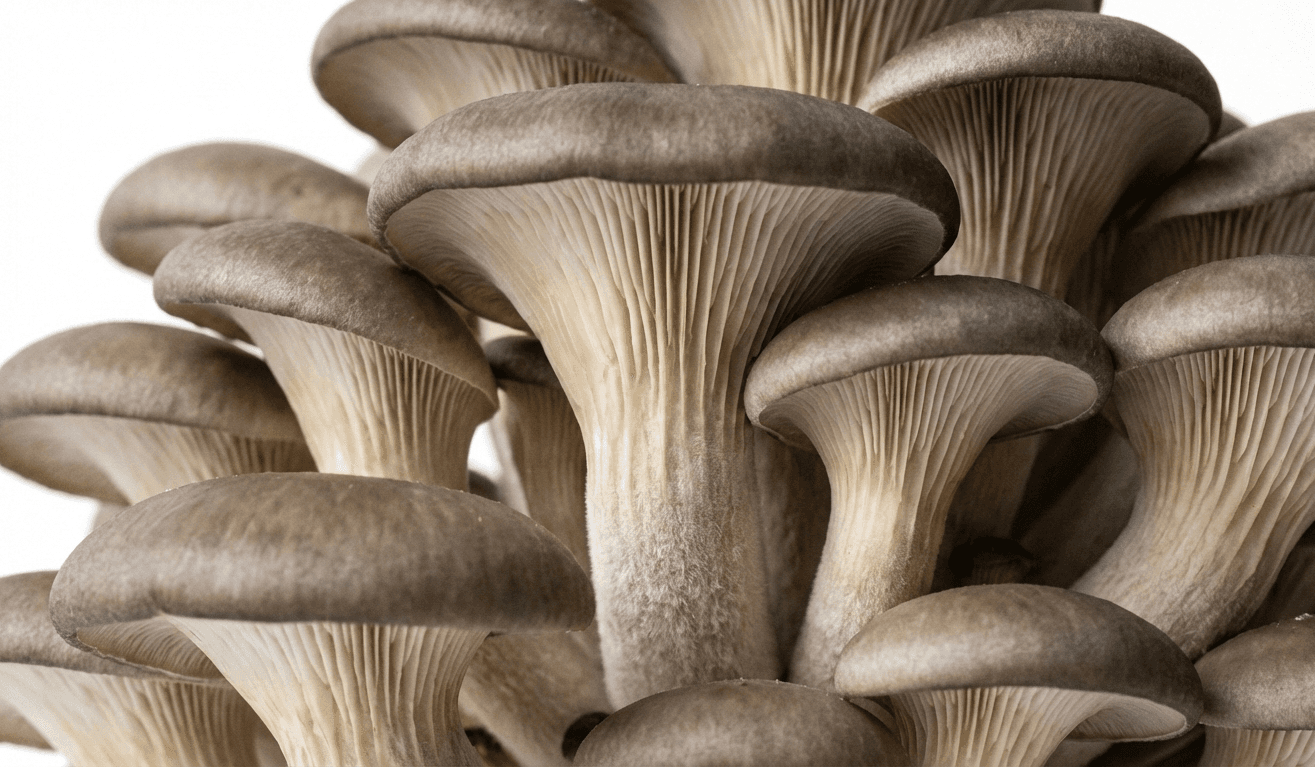
Phoenix Oyster (Pleurotus pulmonarius) is a warm-weather cousin of the common oyster mushroom. Sometimes called the Indian Oyster or Italian Oyster, it produces pale cream to light tan fan-shaped caps with a mild, slightly sweet flavour. In the wild it fruits on dead hardwood in summer and early autumn, the opposite season to Blue Oyster.
Phoenix Oyster is prized for:
- Warm-weather fruiting: fruits at 18–27°C, perfect for UK summer growing
- Fast colonisation: aggressive mycelium, comparable to Blue Oyster
- High yields: generous flushes from a single block
- Mild, versatile flavour: slightly sweeter and more delicate than Blue Oyster
- Low equipment needs: pasteurisation is sufficient for straw substrates
Choose Your Substrate
Like all oyster species, Phoenix Oyster is an efficient lignin decomposer and will fruit on a wide range of materials. The same substrates that work for Blue Oyster work here.
Straw (Pasteurised)
Beginner · Easiest · Lowest cost
Chop wheat or barley straw to 5–10 cm lengths, pasteurise at 65–80°C for 60–90 minutes, drain, cool, and inoculate. No pressure cooker needed, pasteurisation is sufficient because oyster mycelium colonises fast enough to outrun contaminants.
Hardwood Sawdust + Bran (Sterilised)
Intermediate · Higher yields · Denser blocks
Mix hardwood sawdust with 10–20% wheat bran by dry weight. Hydrate to 60–65% moisture (the "squeeze test", a firm squeeze produces a few drops of water). Bag and sterilise at 15 PSI for 2.5 hours. This method produces denser blocks and higher yields than straw.
Straw + Coffee Grounds
Beginner · Uses kitchen waste · Moderate yields
Replace up to 20–30% of your straw with spent coffee grounds for a nitrogen boost. Pasteurise as normal. Don't exceed 30% coffee, too much increases contamination risk and can compact, reducing airflow.
Equipment & Sterile Setup
Phoenix Oyster is forgiving, but clean technique still matters, especially during inoculation.
Sterilisation vs Pasteurisation
Like Blue Oyster, Phoenix Oyster doesn't always require full sterilisation:
- Straw substrates → Pasteurisation (65–80°C, 60–90 min) is enough
- Supplemented sawdust → Full sterilisation at 15 PSI recommended
Pressure cooker sterilisation guide →
Workspace
A still air box (SAB) is the minimum for inoculation. If using pasteurised straw, you can get away with a very clean kitchen and quick work, but a SAB is always better.
Equipment checklist
- Pressure cooker (for sawdust blocks) or large pot (for straw pasteurisation)
- Grow bags with filter patches or 5-gallon bucket with holes
- Still air box or flow hood
- Isopropyl alcohol (70%)
- Nitrile gloves
- Syringes with needles
- Spray bottle (misting)
Full sterile technique guide →
Environmental Parameters
Phoenix Oyster's key advantage is its tolerance of warmer temperatures. Where Blue Oyster struggles above 20°C during fruiting, Phoenix is comfortable into the mid-twenties.
| Stage | Temperature | Humidity | Light | Fresh Air | Duration |
|---|---|---|---|---|---|
| Colonisation | 22–28°C | Sealed container | Darkness fine | None needed | 7–14 days |
| Primordia initiation | 18–22°C | 85–95% | Indirect/ambient | Moderate | 3–5 days |
| Fruiting | 18–27°C | 80–90% | Indirect light | Good exchange | 5–10 days |
Key points:
- Phoenix Oyster thrives in warmth: a UK summer room, conservatory, or greenhouse (with shade) is ideal
- A slight temperature drop can help trigger pinning, but it's less critical than with Blue Oyster, Phoenix will often fruit without a deliberate cold shock
- Fresh air is still important: like all oysters, low CO₂ produces short stems and large caps. Poor ventilation causes leggy growth
- Light is helpful but not essential, ambient room light or a window is enough
Step-by-Step: Straw Bucket Method
This is the simplest method for beginners using pasteurised straw. The process is identical to Blue Oyster, only the temperatures differ.
1) Prepare the bucket
Drill 10–15 holes (10 mm diameter) evenly around a 5-gallon / 20-litre bucket. These are where the mushrooms will fruit from.
2) Chop and pasteurise straw
Chop straw to 5–10 cm lengths. Submerge in hot water (65–80°C) for 60–90 minutes. A large pot or insulated cool box works well. Drain thoroughly, the straw should be damp but not dripping.
3) Layer and inoculate
Working in front of your SAB or in a clean space:
- Add a 5–8 cm layer of straw to the bucket
- Sprinkle or inject liquid culture across the layer
- Repeat layers until the bucket is full
- Aim for 5–10 ml total liquid culture per bucket
4) Seal and incubate
Cover the top loosely with a lid or cling film with a few small holes. Place somewhere warm (22–28°C) and dark. A warm room, airing cupboard, or sunny spot (out of direct sunlight) works well in summer.
5) Wait for colonisation
Within 7–14 days the straw should be bound together by dense white mycelium. You'll see it through the drill holes. Phoenix Oyster colonises slightly faster than Blue Oyster at higher temperatures.
6) Trigger fruiting
Remove the lid. Mist the holes 2–3 times daily. Phoenix Oyster is less dependent on a temperature drop than Blue Oyster, it will often begin pinning at the same temperature it colonised at, provided it gets fresh air and humidity. Within 3–7 days, small pin clusters will form in the holes.
7) Harvest
Harvest when cap edges are still slightly curled under or just flattening, before they start dropping spores. Twist and pull the entire cluster cleanly from the hole.
Timeline: What "Normal" Looks Like
Days 1–3: Rapid initial growth
White threads spread quickly from inoculation points. Phoenix Oyster is aggressive, you may see visible mycelium within 36–48 hours at warm temperatures.
Days 3–7: Colonisation spreads
Mycelium races through the substrate. At 25°C+ it may colonise noticeably faster than Blue Oyster. The block or bucket may feel warm to the touch, this is metabolic heat and is normal.
Days 7–14: Full colonisation
The substrate is bound together by dense white mycelium. It should feel firm and smell fresh and mushroomy.
Days 14–18: Pinning
After exposure to fresh air and humidity, small pale clusters emerge from openings. Phoenix Oyster pins are cream to light tan, paler than Blue Oyster's blue-grey.
Days 18–25: First flush
Clusters grow rapidly. Harvest when caps are still slightly convex. The first flush is usually the largest.
Days 30–45+: Second and third flushes
After harvesting, mist the block and wait. Phoenix Oyster commonly produces 2–3 flushes, each slightly smaller than the last. Biological efficiency is comparable to Blue Oyster, 75–100% on supplemented sawdust.
Common Problems
Contamination
- Green mould (Trichoderma): More common in warm conditions. Ensure pasteurisation was thorough and inoculation was clean. Discard if widespread. Small patches may be outrun by vigorous oyster mycelium.
- Bacterial wet spot: Warm, wet substrates are vulnerable. Ensure straw is well-drained after pasteurisation. The substrate should be damp, not soggy.
Long stems, tiny caps
- Not enough fresh air. This is the most common oyster mushroom problem. Increase ventilation immediately. The mushrooms are stretching towards oxygen.
Not fruiting
- Not enough fresh air?: Phoenix Oyster needs good air exchange to initiate pinning
- Not colonised?: Wait for full white coverage before introducing fruiting conditions
- Substrate dried out?: Mist more frequently; check humidity is 80%+
Troubleshooting: no fruiting →
Yellowing or drying clusters
- Humidity too low. Mist more frequently or add a humidity tent (plastic bag with holes over the fruiting area). Don't mist the pins directly, mist the air around them.
Phoenix Oyster vs Blue Oyster: Key Differences
If you've grown Blue Oyster, here's what's different:
| Phoenix Oyster | Blue Oyster | |
|---|---|---|
| Fruiting temp | 18–27°C | 10–18°C |
| Best season (UK) | Late spring – early autumn | Autumn – spring |
| Cold shock needed? | Rarely | Helpful |
| Cap colour | Cream to light tan | Blue-grey to grey-brown |
| Flavour | Slightly sweeter, more delicate | Mild, firmer texture |
| Colonisation speed | Very fast (warmer = faster) | Very fast |
| Yields | Comparable | Comparable |
| Contamination risk | Slightly higher (warmth favours competitors) | Lower in cool conditions |
| Difficulty | Beginner | Beginner |
Growing both species lets you fruit year-round: Blue Oyster in the cooler months, Phoenix Oyster through summer.
Harvesting & Storage
When to harvest
Pick when:
- Cap edges are still slightly curled under or just flattening
- Before heavy spore drop (you'll see white dust on surfaces below)
- Clusters are firm, not soggy
How to harvest
Twist and pull the entire cluster from the substrate in one piece. Don't cut individual mushrooms, removing the whole cluster cleanly reduces contamination risk for subsequent flushes.
Storage
- Fresh: Paper bag in the fridge, lasts 5–7 days
- Dried: Dehydrator at 50–60°C until cracker-dry, stores for months in an airtight container
- Cooked: Sauté and freeze for long-term storage
Frequently Asked Questions
When is the best time to grow Phoenix Oyster in the UK?
Late May through September, when indoor temperatures naturally sit in the 20–27°C range. Phoenix Oyster is the ideal summer species, it fills the gap when Blue Oyster struggles with the heat.
Can I grow Phoenix Oyster in winter?
Yes, if you can maintain 22–28°C during colonisation and 18–27°C during fruiting. A heated room works, but you're fighting the season. Blue Oyster is a better choice for unheated winter spaces.
How much liquid culture do I need?
2–5 ml for a jar or small bag. 5–10 ml for a 5-gallon bucket or large bag. More inoculation points = faster colonisation = less contamination risk.
Do I need a pressure cooker?
Not for straw-based substrates, pasteurisation is sufficient. You do need one for supplemented sawdust blocks. If you're just starting out, the straw bucket method avoids the need for a pressure cooker entirely.
Is contamination more likely with Phoenix Oyster?
Slightly. Warmer temperatures favour bacterial and mould competitors alongside your mushroom. Good pasteurisation, quick inoculation, and proper drainage are more important with Phoenix Oyster than with cool-weather species. That said, Phoenix Oyster colonises fast enough to outcompete most contaminants if you give it a clean start.
Can I grow Phoenix and Blue Oyster on the same substrate?
Technically yes, but they have different ideal fruiting temperatures so one will dominate depending on conditions. It's better to grow them as separate blocks and fruit each at its preferred temperature.
Can I reuse the substrate?
After 2–3 flushes, the substrate is spent. You can compost it, spent oyster substrate makes excellent garden mulch and may even produce a bonus outdoor flush in warm weather.
Next Steps
Ready to grow?
- Liquid Culture Handling Guide →
- Sterile Technique Fundamentals →
- Blue Oyster Cultivation Guide → (for cooler months)
Need help?
Need supplies?