Pressure Cooker Sterilisation Guide
Master pressure cooker sterilisation for mushroom substrates and grain spawn. Learn proper times, pressures, and techniques for contamination-free results.
Why Pressure Sterilisation?
Pressure cooking is the most reliable method to sterilise substrates for mushroom cultivation. By raising water's boiling point to 121°C (at 15 PSI), we can destroy virtually all contaminants including heat-resistant bacterial spores.
This is a critical success factor - improperly sterilised substrate is the leading cause of contamination in home cultivation.
Understanding Pressure and Temperature
| Pressure (PSI) | Temperature | Effectiveness |
|---|---|---|
| 0 (boiling) | 100°C | Kills most organisms |
| 10 PSI | 116°C | Better sterilisation |
| 15 PSI | 121°C | Full sterilisation |
Note: Always aim for 15 PSI. Lower pressures require significantly longer processing times and are less reliable.
Choosing a Pressure Cooker
Minimum Requirements
- Capacity: At least 20L for practical batch sizes
- Pressure gauge: Must reach and maintain 15 PSI
- Safety features: Pressure release valve, locking lid
- Rack or trivet: To keep jars off the bottom
Recommended Models
For UK cultivators, the Presto 23-quart and All American pressure cookers are popular choices. Stove-top models are preferred over electric pressure cookers, which often can't reach 15 PSI.
Preparing Grain Spawn
Step 1: Hydrate Your Grain
Soak grain (rye, wheat, oats) for 12-24 hours in clean water. Drain and simmer for 15 minutes until grains are hydrated but not splitting.
Step 2: Dry the Surface
Spread grains on clean towels to remove surface moisture. Grains should be glistening but not wet.
Step 3: Fill Containers
Fill jars or bags to 2/3 capacity. Leave headspace for mycelium growth and gas exchange.
Step 4: Seal Appropriately
- Jars: Use modified lids with filter patches
- Bags: Fold and clip, or use impulse sealer with filter patch
Sterilisation Process
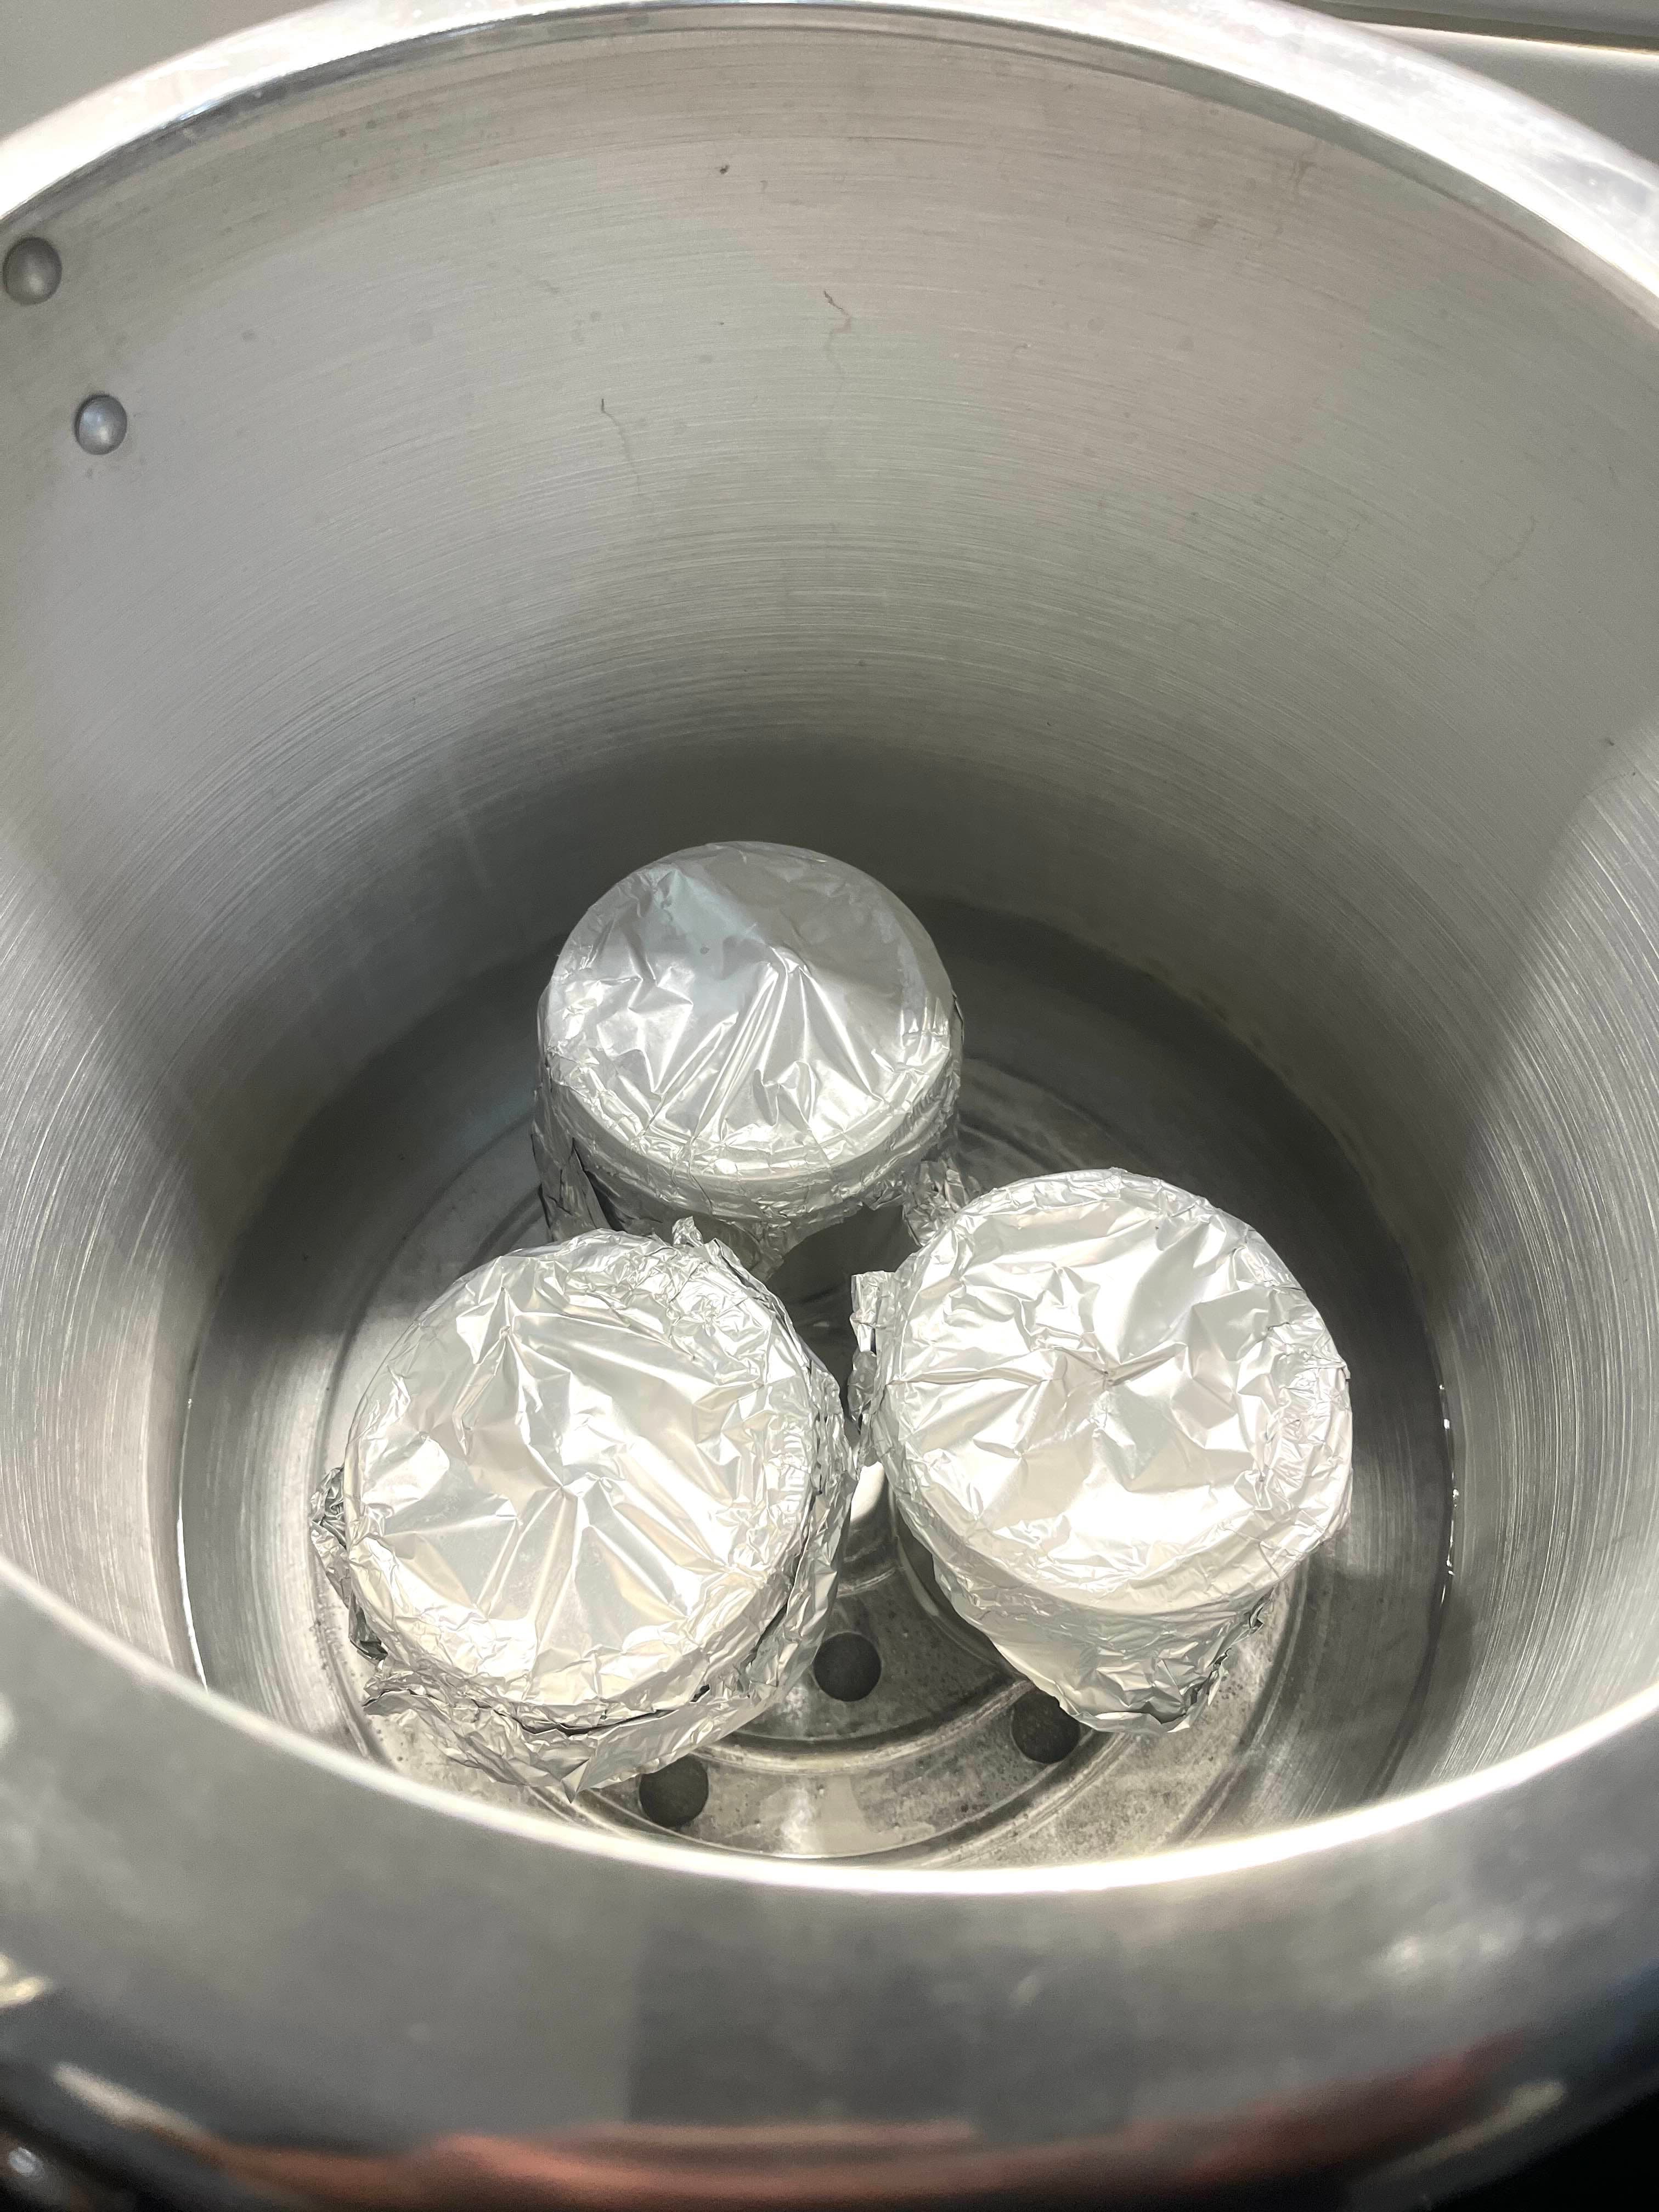
Loading the Pressure Cooker
- Place rack in bottom of cooker
- Add 5-7cm of water
- Arrange jars so steam can circulate
- Don't let jars touch the sides
- Secure lid according to manufacturer instructions
The Sterilisation Cycle
- Heat on high until steam flows steadily from vent (10-15 minutes)
- Vent steam for 10 minutes to purge air
- Close vent and build pressure
- Begin timing when 15 PSI is reached
- Maintain pressure - adjust heat as needed
- Turn off heat after required time
- Natural cool down - never force release
Sterilisation Times at 15 PSI
| Container | Time |
|---|---|
| 500ml jars | 60 minutes |
| 1L jars | 90 minutes |
| Spawn bags (2kg) | 2.5 hours |
| Bulk substrate bags | 2-3 hours |
Important: Start timing only when full pressure is reached. Err on the side of longer times.
Common Mistakes
Mistake 1: Insufficient Time
The most common error. The centre of your container needs full exposure - this takes time.
Mistake 2: Forcing Pressure Release
Rapid cooling can crack jars, pull in contaminants through filters, and cause grain to burst. Always cool naturally.
Mistake 3: Opening Too Soon
Wait until pressure reads zero AND the cooker is cool to touch. This typically takes 4-8 hours.
Mistake 4: Too Much Water in Grain
Wet grain leads to bacterial contamination. Surface moisture is the enemy.
Mistake 5: Overloading the Cooker
Jars need steam circulation. Cramming in extra jars reduces effectiveness.
After Sterilisation
Cooling
Leave jars in the cooker overnight. Remove in the morning when completely cool.
Inspection
Check each jar for:
- Cracked glass
- Compromised filters
- Unusual smells when opening
Storage
Sterilised grain can be stored for weeks in a clean, dark place. Inoculate within 2 weeks for best results.
Safety Reminders
- Never leave unattended while at pressure
- Check gaskets before each use
- Keep vents clear of debris
- Follow manufacturer instructions
- Use oven mitts when handling hot equipment
Next Steps
With sterilised substrate ready, it's time to inoculate. Review our liquid culture guide for injection techniques, or try our egg substrate recipe for Cordyceps.