No-Pour Agar Plates: A Low-Contamination Method for Testing Liquid Culture
Learn to make pre-sterilised agar plates using PP5 containers. The same method we use to verify every liquid culture before it ships.
No-Pour Agar Plates: A Low-Contamination Method for Testing Liquid Culture
Every liquid culture we sell at Maverick Myco gets tested on agar before it ships. Clear liquid doesn't mean clean liquid. Bacteria can hide invisibly in nutrient broth for weeks, only revealing themselves after you've inoculated an entire batch of grain. A 48-hour agar test catches what visual inspection misses.
This guide covers the exact method we use: no-pour agar plates in small PP5 containers. The technique eliminates the riskiest step in traditional agar work (pouring hot media in open air) while producing compact diagnostic plates purpose-built for quality control. Whether you're verifying cultures you've purchased or testing your own LC batches, this method gives you confidence before you commit substrate.
Why No-Pour?
Traditional agar preparation requires pouring hot, sterile media into petri dishes after pressure cooking. That pour happens in open air, even in a still air box, creating a contamination window that catches many beginners out.
The no-pour method sidesteps this entirely. You dispense agar into containers before sterilisation, pressure cook with lids loosely fitted, then tighten once cool. The media never contacts unsterile air. For hobbyists without a laminar flow hood, this changes the game.
Practical benefits include reduced contamination risk (containers stay sealed from sterilisation through inoculation), no pouring equipment needed (no flask, no steady hands required), batch efficiency (prepare 20+ plates in one pressure cooker run), and compact storage (small containers stack neatly in a fridge).
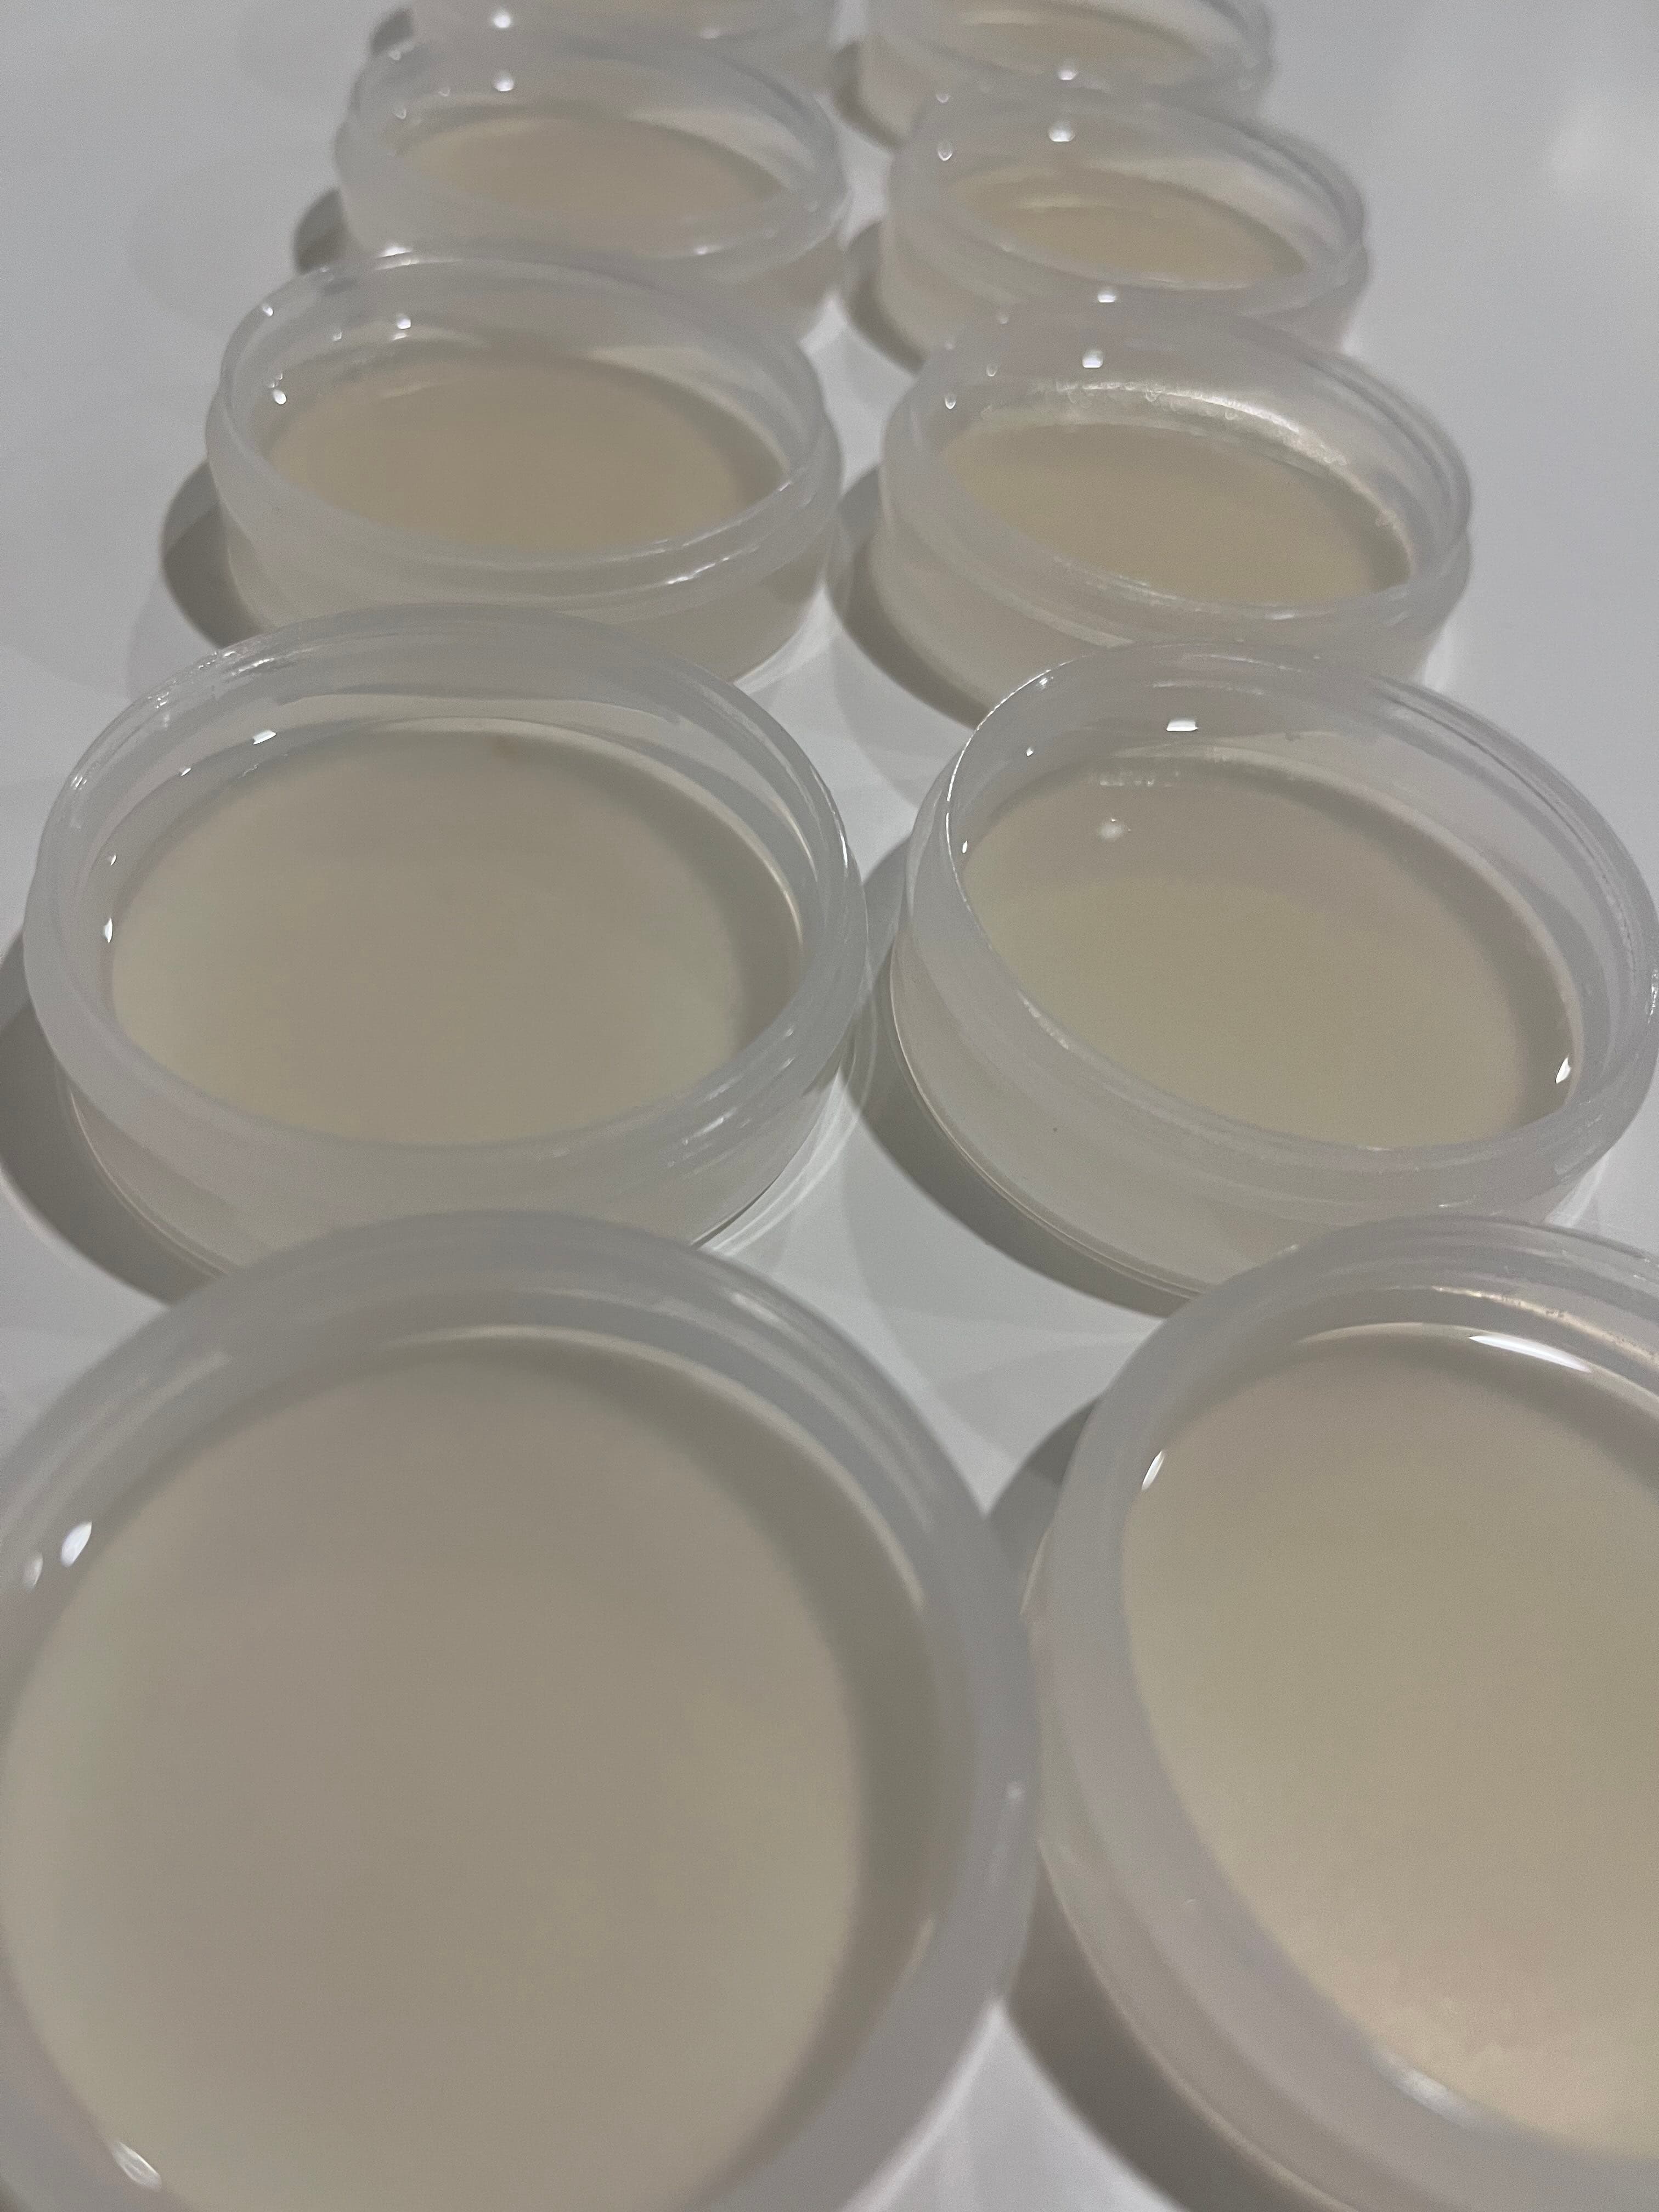
Choosing PP5 Containers
PP5 (polypropylene, recycling code 5) is autoclave-safe, withstanding 121°C at 15 PSI without warping or melting. It's the same material used in laboratory-grade containers.
Container specifications that work well:
| Dimension | Recommended | Notes |
|---|---|---|
| Diameter | 50-60mm | Provides adequate working surface |
| Height | 15-20mm | Allows 10-15ml agar depth plus headspace |
| Closure | Screw-top | Snap-on lids risk implosion during cooling |
| Volume | 30-50ml | Sufficient for diagnostic work |
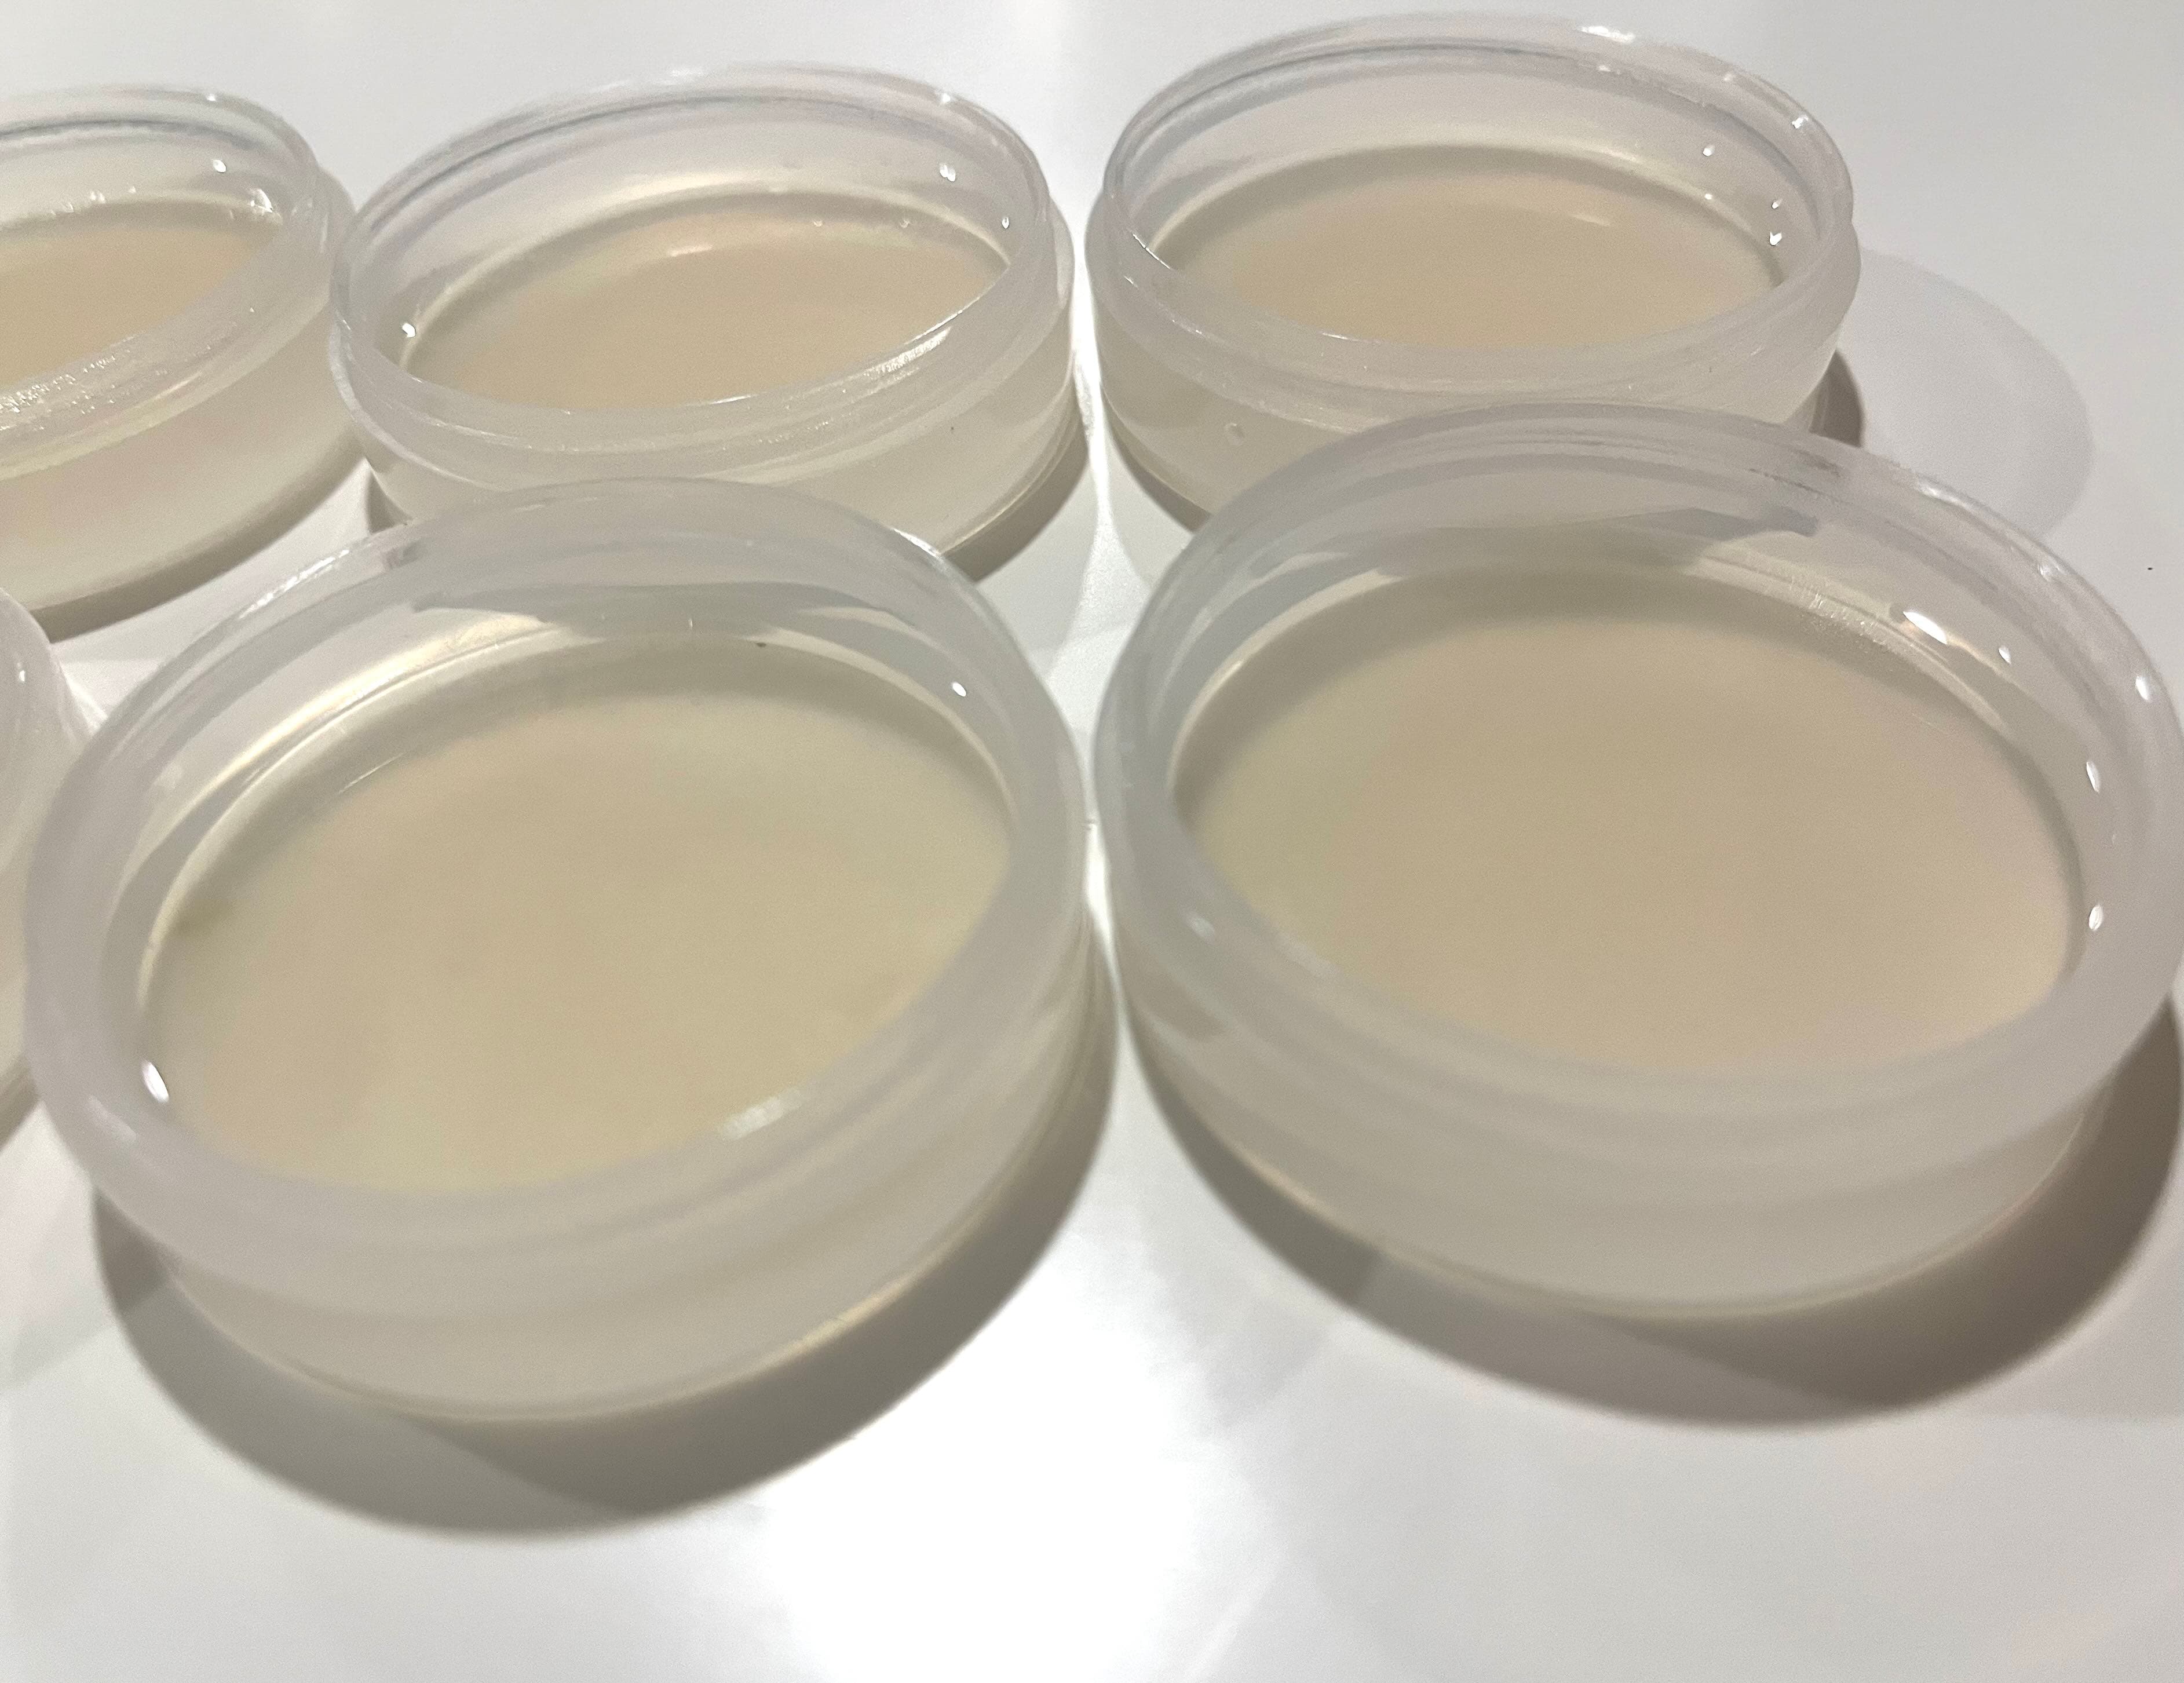
Small sauce containers (the type used for condiments) often meet these specifications. Look for screw-on lids specifically. Snap-fit closures can buckle inward as the container cools and internal pressure drops.
Verify the lid material separately. Some containers use PP5 bodies with different lid plastics. If the lid doesn't display the PP5 symbol, test one container before committing to a batch. Unsuitable lids will warp, melt at the edges, or fail to seal properly.
Three Recipes for Different Purposes
Not all agar work has the same goal. We use different recipes depending on whether we're testing for contamination, maintaining cultures, or cleaning up dirty spore samples. Each recipe below scales with the calculator. Just select your use case and batch size.
When to Use Which Recipe
| Use Case | Recipe | Why |
|---|---|---|
| LC quality control | Low-Nutrient Diagnostic | Slows mycelium so contamination stands out |
| Culture storage & transfers | Standard MEA | Balanced growth for maintaining healthy cultures |
| Dirty spore cleanup | Water Agar | Starves contaminants; mycelium adapts better |
| Cloning from tissue | Standard MEA | Supports vigorous initial growth |
| Isolation & sectoring | Low-Nutrient Diagnostic | Clearer growth patterns for selecting genetics |
Agar Recipe Calculator
Select your recipe type and enter your desired batch size. The calculator provides exact measurements based on approximately 15ml of agar per plate.
Agar Recipe Calculator
For 20 plates (300ml) of Low-Nutrient Diagnostic:
- Distilled water300ml
- Light malt extract3.0g
- Agar powder4.8g
Best for LC testing and isolation work. Slows mycelium to reveal contamination.
Recipe 1: Low-Nutrient Diagnostic Agar
Best for: LC testing, isolation work, identifying contamination
This is our go-to for quality control. The reduced malt extract (1% vs the typical 2-3%) slows mycelial growth deliberately. Contamination becomes easier to spot: bacterial colonies appear as shiny wet patches rather than being hidden beneath aggressive mycelial overgrowth. Sectoring shows more clearly, making this recipe useful for isolation work too.
Per litre:
- 1000ml distilled water
- 10g light malt extract (1%)
- 16g agar powder (1.6%)
For 300ml batch (20 plates):
- 300ml distilled water
- 3g light malt extract
- 4.8g agar powder
The low nutrient content means mycelium grows more slowly with better-defined margins. Think of these plates as diagnostic tools, not propagation media. The goal isn't speed, it's clarity.
Recipe 2: Standard Malt Extract Agar (MEA)
Best for: Culture maintenance, transfers, cloning, general agar work
The industry standard. This concentration supports healthy mycelial growth while still allowing reasonable contamination visibility. Use this when you want cultures to grow vigorously: for maintaining master cultures, transferring to fresh plates, or initial cloning from tissue samples.
Per litre:
- 1000ml distilled water
- 20g light malt extract (2%)
- 16g agar powder (1.6%)
For 300ml batch (20 plates):
- 300ml distilled water
- 6g light malt extract
- 4.8g agar powder
Standard MEA produces faster colonisation than the diagnostic recipe. Healthy mycelium will show strong growth within 48-72 hours. The tradeoff is that aggressive growth can mask early-stage contamination, which is why we use the low-nutrient version for QC work.
Recipe 3: Water Agar
Best for: Cleaning contaminated spore samples, germinating wild spores
Water agar contains no added nutrients, just agar and water. This seems counterintuitive, but it exploits a key difference between mycelium and most contaminants: fungal mycelium adapts to nutrient-poor conditions better than bacteria and many moulds.
When germinating spores from a potentially contaminated source (spore prints, wild collections), water agar gives mycelium a head start. Once you see clean mycelial growth, transfer it to nutrient agar for proper development.
Per litre:
- 1000ml distilled water
- 16g agar powder (1.6%)
- No malt extract
For 300ml batch (20 plates):
- 300ml distilled water
- 4.8g agar powder
Water agar won't support long-term growth. Mycelium will eventually stall without nutrients. Use it as a cleaning step, then transfer healthy growth to MEA within 5-7 days.
Step-by-Step Method
The preparation method is identical for all three recipes. Only the ingredients change.
Preparation
Weigh your ingredients using a digital scale accurate to 0.1g. Agar concentration significantly affects gel firmness, and eyeballing measurements leads to inconsistent results.
Add the distilled water to a heat-resistant jug or saucepan. If using malt extract, stir it in until fully dissolved. Add the agar powder gradually while stirring. Agar clumps if added too quickly, and undissolved clumps will remain as lumps in your final plates.
Heat the mixture gently while stirring until it reaches a simmer. The liquid should become clear (water agar) or slightly amber (MEA recipes) with no visible particles. Remove from heat.
Filling Containers
Work quickly since agar begins setting around 45°C.
Pour approximately 15ml into each PP5 container. This should cover the base to a depth of 5-8mm when the container sits level. Exact precision isn't critical; you're aiming for enough depth to support mycelial growth without wasting media.
Place the screw-top lids on loosely. They should sit in position but turn freely. Do not tighten. This allows pressure equalisation during sterilisation and prevents containers exploding or imploding.
Sterilisation
Arrange containers in your pressure cooker. They can be stacked if your cooker accommodates this, though a single layer ensures even heating. Add water to the pressure cooker according to your manufacturer's instructions.
Cover the batch loosely with aluminium foil. This prevents condensation dripping onto the loose lids during the pressure release phase.
Sterilise at 15 PSI for 25 minutes.
This time accounts for the small container volume and provides adequate margin for sterilisation throughout. Larger containers or denser packing may require longer times. When in doubt, err toward longer sterilisation rather than shorter.
Cooling and Sealing
After the cycle completes, allow the pressure cooker to depressurise naturally. Never use quick-release with agar. Rapid pressure changes can cause containers to crack or expel their contents.
Once pressure reaches zero, leave the containers inside the cooker with the lid ajar. Allow cooling for at least 4 hours, ideally overnight. The agar will set as it cools below 45°C.
Only tighten the lids once containers reach room temperature. Sealing while warm creates a partial vacuum as the contents continue cooling, which can draw in contaminated air past the seal or cause lid distortion.
Storage
Store completed plates in a clean, dark location. Refrigeration extends shelf life to several months. Plates stored at room temperature should be used within 2-4 weeks.
Stack plates upside-down (lid facing downward, agar facing up). This prevents condensation collecting on the agar surface.
Testing Liquid Culture: Our QC Process
This is the exact process we use to verify liquid cultures before dispatch. You can apply the same method to cultures you've purchased or made yourself.
Inoculation Procedure
Work in a still air box or in front of a laminar flow hood. If you haven't built a still air box, see our Still Air Box Basics guide.
Label each plate with the liquid culture batch identifier and date. Use a permanent marker on the container base since labels on lids get separated.
Shake or swirl your liquid culture to distribute mycelium evenly. Draw a small amount into a sterile syringe.
Flame-sterilise your needle or use a fresh sterile needle. Open the plate lid minimally, deposit one small drop of liquid culture onto the agar surface, and close immediately. One drop is sufficient. Excess liquid spreads across the plate and obscures early growth patterns.
Seal the plate edge with a single wrap of micropore tape or Parafilm. This allows gas exchange while preventing contamination ingress.
Incubate at 20-24°C (room temperature works for most species). Check plates at 24, 48, and 72 hours.
Reading Results
Healthy liquid culture produces a small point of white mycelial growth expanding outward from the inoculation site. Growth should appear within 24-72 hours depending on species and incubation temperature. The mycelium will show consistent texture, either rhizomorphic (rope-like strands) or tomentose (fluffy and cotton-like) depending on genetics.
Bacterial contamination appears as shiny, wet-looking colonies, often with a milky or translucent quality. Bacteria typically grow faster than mycelium in the first 24 hours. If you see growth appearing unusually quickly (within 12 hours), examine it closely. Healthy mycelium rarely moves that fast.
Mould contamination shows as coloured fuzzy growth (green, black, grey, yellow) either at the inoculation point or elsewhere on the plate. Mould spores may have been present in the liquid culture or introduced during inoculation.
Yeast contamination produces off-white or cream-coloured colonies with a pasty texture, distinct from the fibrous appearance of mycelium.
Any plate showing contamination indicates the liquid culture batch should not be used for inoculation. Discard contaminated cultures and investigate the source. Contamination may have originated in the culture preparation, storage conditions, or testing procedure itself.
Test Multiple Plates
A single clean plate doesn't guarantee a clean culture. Contamination can be unevenly distributed in liquid culture, meaning one syringe draw might be clean while another carries bacteria.
For critical batches, particularly liquid cultures you plan to use for large grain runs, test 2-3 plates per batch. Consistent clean results across multiple plates provide stronger confidence than a single test.
We test every LC batch on multiple plates before it ships. If you're producing cultures for others, the same standard applies.
Troubleshooting
Agar doesn't set: Insufficient agar concentration (weigh ingredients carefully), or containers were sealed while still warm allowing moisture loss. Agar requires adequate water content to gel properly.
Condensation pools on agar surface: Plates were stored right-side up, or sealed while warm. Store inverted (agar surface uppermost, lid downward) and ensure complete cooling before sealing.
Lids warped or melted: Lid material wasn't PP5, or lids were tightened before pressure cooking. Verify lid plastic type and always sterilise with lids loose.
Contamination on uninoculated plates: Sterilisation time was insufficient, lids were tightened while containers were still warm (drawing in contaminated air), or storage conditions were poor. Always test 1-2 uninoculated plates from each batch as sterility controls.
No growth after 72 hours: Liquid culture may be non-viable, agar may have been too hot when inoculated (killing the mycelium), or incubation temperature is too low. Most species show visible growth within 72 hours at 20-24°C.
Growth appears but looks unusual: Contamination often mimics mycelium in early stages. True mycelium has a fibrous, networked appearance under close examination. Bacterial growth appears smoother and often shiny. When uncertain, allow additional incubation time. Differences become clearer as growth develops.
Summary
No-pour agar plates remove the highest-contamination step from traditional agar work while producing diagnostic tools purpose-built for quality control.
Quick reference:
| Parameter | Value |
|---|---|
| Container material | PP5 polypropylene, screw-top |
| Container size | 55mm diameter × 18mm height |
| Agar per container | 12-15ml |
| Sterilisation | 15 PSI, 25 minutes, lids loose |
| Storage | Refrigerated, inverted, up to 3 months |
Recipe summary:
| Recipe | Malt Extract | Agar | Use Case |
|---|---|---|---|
| Low-Nutrient Diagnostic | 1% (10g/L) | 1.6% (16g/L) | LC testing, isolation |
| Standard MEA | 2% (20g/L) | 1.6% (16g/L) | Culture maintenance, cloning |
| Water Agar | None | 1.6% (16g/L) | Spore cleanup |
The 48-hour verification this technique provides costs little in time or materials compared to discovering contamination after inoculating a full grain batch. Test before you trust. It's how we work, and it's how you should too.
Related Guides
- Liquid Culture Guides and Recipes: comprehensive coverage of liquid culture preparation, storage, and use
- Light Malt Extract Liquid Culture Recipe: the industry-standard LC recipe using the same base ingredient
- Introduction to Sterile Technique: foundational practices for contamination-free cultivation
- Pressure Cooker Sterilisation Guide: detailed guidance on sterilisation times and techniques
- Still Air Box Basics: build a simple workspace for agar inoculation
Testing before trusting. Cultures, done properly.