Light Malt Extract Liquid Culture Recipe
The industry-standard liquid culture recipe using light malt extract. Produces vigorous mycelial growth with excellent clarity for easy contamination detection.
Why Light Malt Extract?
Light malt extract (LME) is the preferred choice among experienced cultivators and commercial operations. Derived from barley malt, it provides a rich nutritional profile including carbohydrates, proteins, vitamins, and minerals that promote vigorous mycelial growth. The resulting solution remains relatively clear after sterilisation, making contamination detection straightforward.
Advantages
- Robust growth - Rich nutritional profile promotes vigorous mycelium
- Industry standard - Widely used in professional mycology
- Good clarity - Easier contamination detection than some alternatives
- Consistent results - Reliable performance across species
- Versatile - Can be combined with dextrose for optimal results
Recipe Options
We recommend 1.5–2% total sugars for optimal clarity, contamination detection, and reduced caramelisation risk. While higher concentrations (4%) are sometimes used, they are not necessary and can increase the chance of caramelisation during sterilisation.
Recipe A: Simple LME
| Ingredient | Amount per 500ml | Amount per 1L |
|---|---|---|
| Light malt extract powder | 8–10g | 15–20g |
| Distilled water | 500ml | 1000ml |
Recipe B: LME + Dextrose Combination (Recommended)
| Ingredient | Amount per 500ml | Amount per 1L |
|---|---|---|
| Light malt extract powder | 4g | 8g |
| Dextrose (corn sugar) | 4g | 8g |
| Distilled water | 500ml | 1000ml |
The combination recipe provides the nutritional benefits of malt extract whilst the simple sugars in dextrose are immediately available for the mycelium to metabolise. The lower concentration produces a clearer solution that's easier to monitor, with less risk of caramelisation during sterilisation.
Recipe Calculator
For 500ml of Simple LME:
- Light malt extract9.0g
- Distilled water500ml
~1.8% concentration for optimal clarity.
Understanding the Ingredients
Light Malt Extract (LME)
Light malt extract is available as either powder (dry malt extract/DME) or syrup. We recommend the powdered form as it's easier to measure accurately and stores better. It's readily available from home brewing suppliers. Look for "light" or "extra light" varieties rather than amber or dark malt extracts, which can reduce solution clarity.
Dextrose
Dextrose, also called corn sugar or glucose, is a simple monosaccharide that mycelium can metabolise immediately without breaking down complex carbohydrates first. It produces a very clear solution, making contamination particularly easy to spot. Available from home brewing suppliers and some pharmacies.
Why Not Sucrose?
Avoid regular table sugar (sucrose) for liquid cultures. Unlike dextrose, sucrose requires enzymes to break it down before the mycelium can use it, resulting in slower initial growth and potentially encouraging unwanted organisms.
Equipment Needed
Essential
- Mason jars with modified lids (self-healing injection port + filter)
- Pressure cooker or autoclave
- Digital scales (accurate to 0.1g)
- Sterile syringes (10ml with 16-18 gauge needles)
- Distilled or reverse osmosis water
- 70% isopropyl alcohol
- Aluminium foil
- Still air box or laminar flow hood
Recommended
- Magnetic stir bar and stir plate
- Coffee filter (for filtering solution if needed)
- pH strips or meter
- Thermometer
Step-by-Step Preparation
Step 1: Measure Ingredients
Accuracy matters with liquid culture. Use a digital scale to measure your ingredients precisely.
- Tare your scale with a clean container
- Weigh out your malt extract (and dextrose if using Recipe B)
- Measure your distilled water
Step 2: Mix the Solution
- Pour distilled water into a clean saucepan
- Heat gently over low heat (do not boil)
- Add the malt extract gradually, stirring continuously
- If using dextrose, add after the malt extract is dissolved
- Stir until completely dissolved and solution is homogeneous
- Remove from heat and allow to cool slightly
Note: Heating helps dissolve the ingredients faster but avoid boiling, which can cause premature caramelisation.
Step 3: Filter (Optional but Recommended)
Some batches of malt extract contain small particles that can cloud your solution. Filtering produces a clearer final product.
- Set up a coffee filter or fine mesh strainer over a clean container
- Pour the warm solution through the filter
- Allow all liquid to pass through
Step 4: Fill the Jars
- Pour the filtered solution into your mason jars
- Fill to 60-70% capacity to allow space for agitation
- Add a magnetic stir bar or clean glass marble to each jar
- Secure the modified lids tightly
- Cover the top with aluminium foil
Step 5: Sterilise
- Place jars in your pressure cooker on a trivet or rack
- Ensure jars don't touch the sides of the pressure cooker
- Add water as per your pressure cooker instructions
- Bring to 15 PSI (121°C)
- Maintain pressure for 20-25 minutes
- Allow pressure to drop naturally before opening
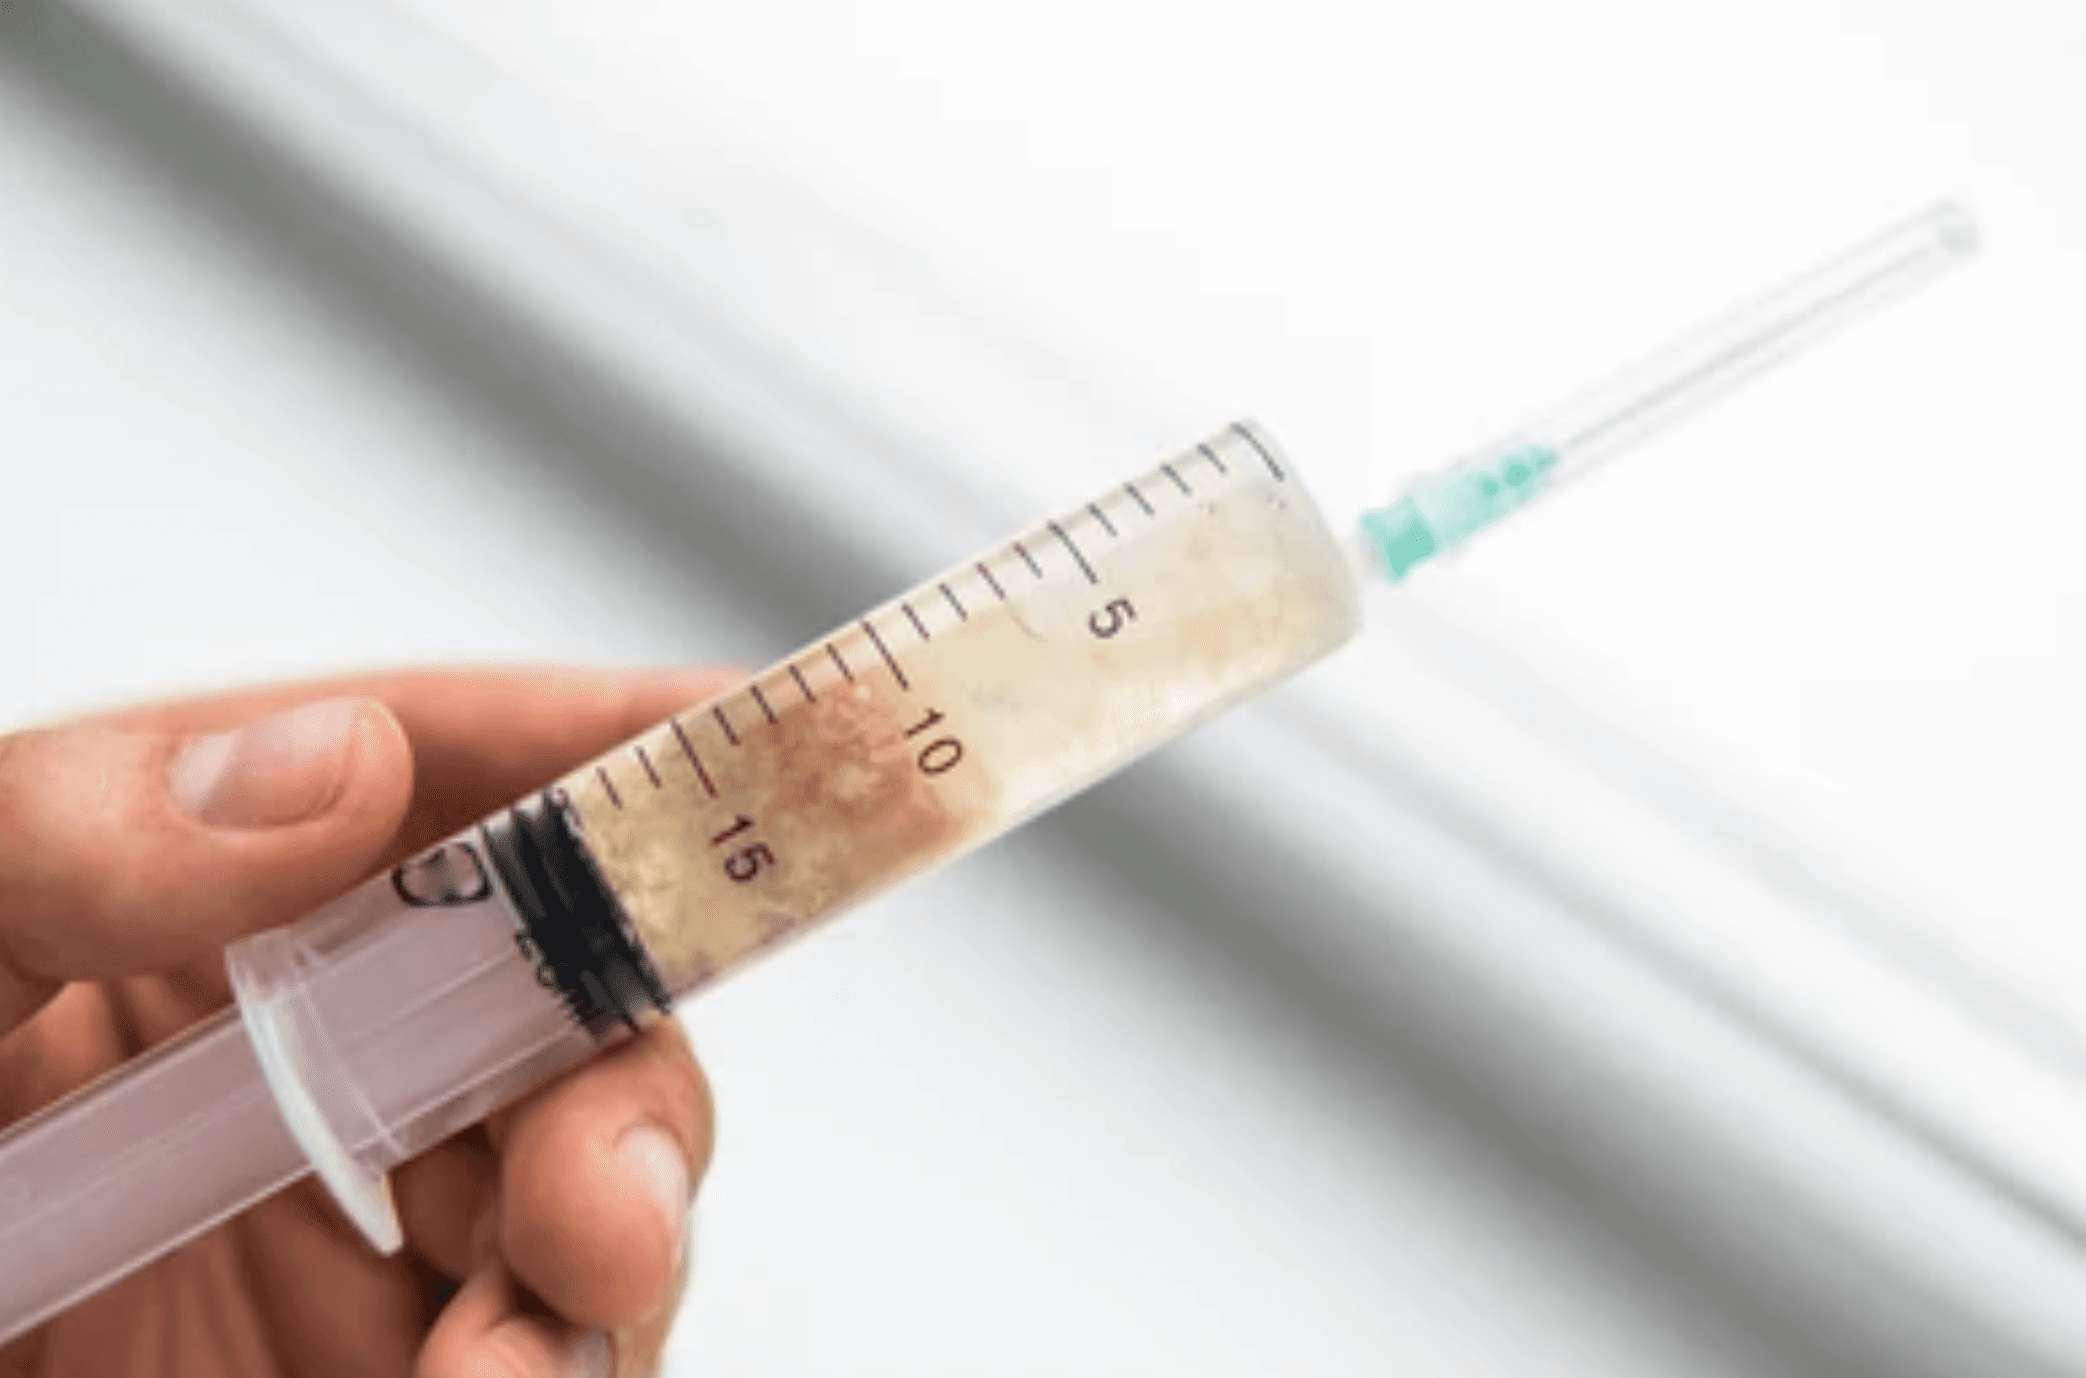
Critical: Do not exceed 30 minutes sterilisation time. The sugars will caramelise, turning the solution amber/brown and significantly reducing its effectiveness.
Step 6: Post-Sterilisation Check
After cooling, examine your jars:
- Solution should be clear to slightly amber
- No dark brown or caramelised appearance
- No visible debris or particles
- Foil intact over the filter
If you notice dark caramelisation, discard and prepare fresh solution with reduced sterilisation time.
Inoculation Procedure
Preparing Your Work Area
- Set up your still air box or position in front of laminar flow
- Spray interior surfaces with 70% isopropyl alcohol
- Allow 10-15 minutes for air to settle (in SAB)
- Arrange all tools within reach
- Don gloves and spray with alcohol
Inoculating from Liquid Culture
- Flame sterilise the syringe needle until red hot
- Allow to cool for 5-10 seconds
- Remove foil from jar
- Wipe injection port with alcohol-soaked cotton
- Insert needle through the self-healing port
- Inject 1-2ml of liquid culture
- Replace foil or tape over the port
- Label with date, species, and generation
Inoculating from Agar
- Flame sterilise your scalpel
- Cut a small piece (approximately 1cm²) from the leading edge of mycelium
- Work quickly to minimise exposure time
- Lift the jar lid just enough to drop in the agar wedge
- Reseal immediately
- Label appropriately
Incubation
Optimal Conditions
| Factor | Recommendation |
|---|---|
| Temperature | 22-26°C (species dependent) |
| Light | Dark or low ambient light |
| Duration | 7-14 days |
Agitation Protocol
LME liquid cultures benefit significantly from regular agitation:
Using a magnetic stir plate:
- 30-60 seconds of stirring, 2-3 times daily
- Low to medium speed setting
- Avoid creating a strong vortex
Manual agitation:
- Gentle swirling motion
- 2-3 times daily
- Avoid vigorous shaking
Agitation breaks up mycelial clumps, distributes growth evenly, and increases the number of inoculation points when you use the culture.
Monitoring Progress

Expected Timeline
- Days 1-2: No visible growth expected
- Days 3-5: First signs of mycelium may appear, often as wispy strands near the inoculant
- Days 5-10: Visible mycelial growth spreading through solution, cloudiness develops from suspended mycelium
- Days 10-14: Dense mycelial growth throughout solution, ready for use
Signs of Healthy Culture
- White, wispy mycelial strands
- Solution remains relatively clear with suspended white growth
- Pleasant, earthy/mushroomy aroma
- Mycelium breaks apart easily with agitation
Contamination Identification
Bacterial Contamination
- Uniform cloudiness without visible mycelial strands
- Solution turns grey or off-white
- Slimy film on surface
- Sour or unpleasant odour
Mould Contamination
- Coloured spots (green, black, orange, yellow)
- Fuzzy growth on surface
- Rapid, aggressive growth pattern
- Musty or off odour
Yeast Contamination
- Rapid, excessive cloudiness
- Sediment layer at bottom
- Fermentation smell (alcoholic, bread-like)
- Bubbling or gas production
Action: Discard any contaminated cultures immediately. Do not attempt to save them. Review your sterile technique before preparing new batches.
Storage Guidelines
Active Use (Room Temperature)
- Use within 2-4 weeks
- Store in a clean, dark location
- Maintain regular agitation
- Check for contamination before each use
Long-term Storage (Refrigerated)
- Store at 2-8°C
- Viable for 3-6 months (species dependent)
- Allow to reach room temperature before use
- Agitate gently to redistribute settled mycelium
- Check viability with a test inoculation if stored longer than 3 months
Troubleshooting
Slow or No Growth
Possible causes:
- Temperature too low
- Dead or weak inoculant
- Over-sterilisation caramelised the sugars
- Contamination inhibiting growth
Solutions:
- Verify incubation temperature
- Test inoculant on agar to verify viability
- Prepare fresh solution with correct sterilisation time
- Check for subtle contamination signs
Caramelisation
Possible causes:
- Sterilisation time too long
- Pressure too high
- Solution boiled before sterilisation
Solutions:
- Reduce sterilisation time to 20 minutes
- Verify pressure cooker accuracy
- Heat solution gently during preparation
Excessive Sedimentation
Possible causes:
- Unfiltered solution
- Contamination
- Old or degraded ingredients
Solutions:
- Filter solution before sterilising
- Review ingredient freshness
- Check for contamination signs
Tips for Consistent Results
- Source quality ingredients - Fresh malt extract makes a significant difference
- Maintain accurate measurements - Use a reliable digital scale
- Don't skip filtering - Cleaner solution means easier monitoring
- Time sterilisation carefully - 20-25 minutes at 15 PSI is ideal
- Agitate consistently - Regular agitation produces denser, more even growth
- Label everything - Track generation numbers to monitor culture health
What's Next?
Once you're comfortable with LME liquid cultures, you might consider our Professional Liquid Culture Recipe, which adds peptone and yeast extract for even faster colonisation times, ideal for serious cultivators and commercial operations.